DIY Free Website

Basically website hosting is a two stage process. First stage is registering a domain and getting a hosting service. Second is building a website and getting it online.
Lets see each step in detail.
Stage 1
First stage consist of two sub parts:
-
Getting a domain registered. A domain is a unique name that is needed to identify a website on the internet. For example in “www.google.com”, google.com is a domain name that is used to identify the home page of Google search engine.
There are many website where you can register a domain name. Most cost reasonable amount to register a domain, but there are few companies that offer free domains based on some conditions.
-
Coming to the second part, one need to register for web hosting service. Basically web hosting is renting some place on servers in a company where you can put your website. Again, most companies will cost some amount to provide service, but still there are some companies that offer same service at free of cost again based on some conditions.
Stage 2
The second stage is having a website ready i.e., fully coded and ready to upload on the hosting server. If you don’t know how to code a website, don’t worry you can get free templates on the Internet which can be edited and used in building a website. This is never ending stage. Before starting we assume that you know how to code a website, thus skipping this part.
Let’s start with domain registration. The free domain registration sites does not guaranty the perfect service and can withdraw the domain at any time. If your are kind enough to spend some money then go for a paid one.
- Let’s head to here (This is my favorite domain registration site)
-
Enter desired name in the box and hit “Go”
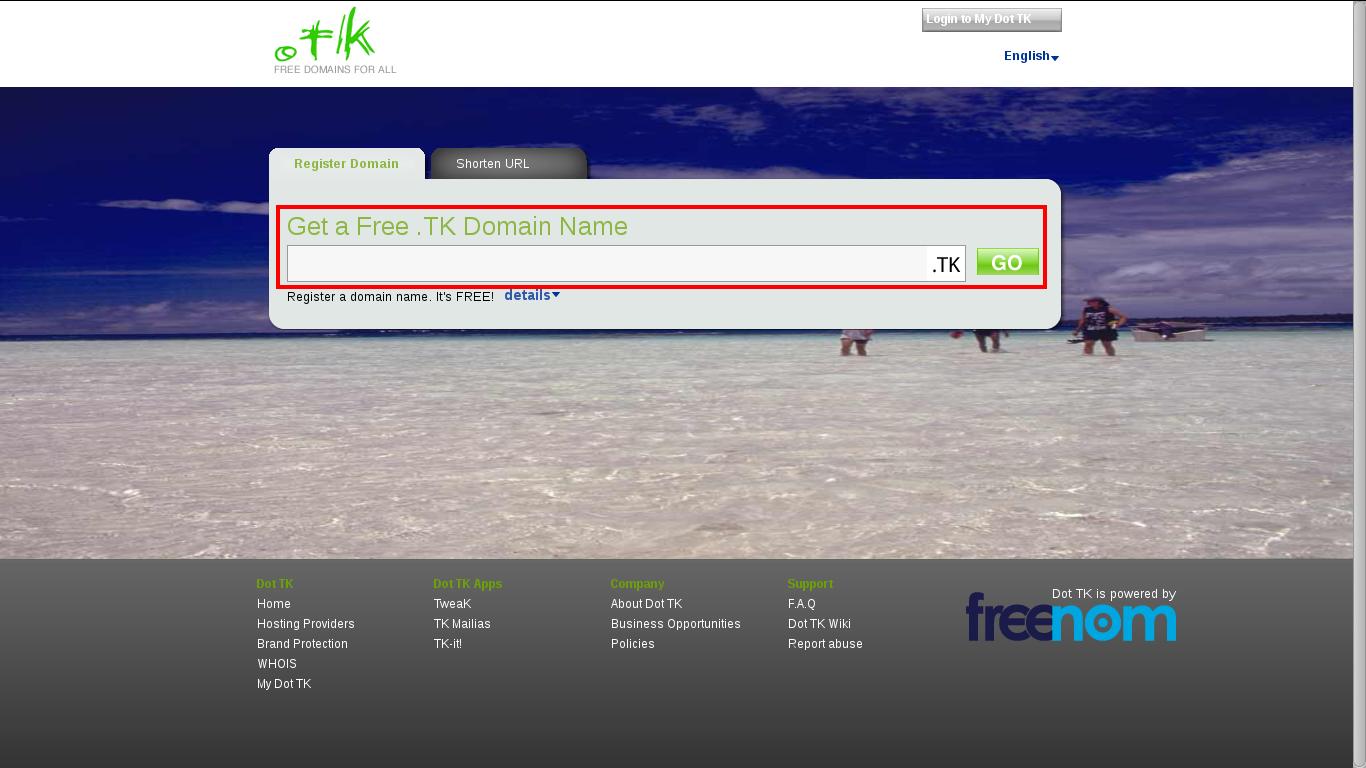
If it says “Domain already taken” then choose another name because someone has already reserved a domain name with that name.
-
If the name is available, then your are with the following screen. Leave the default selection
Forward this domainand in the following box type “www.google.com”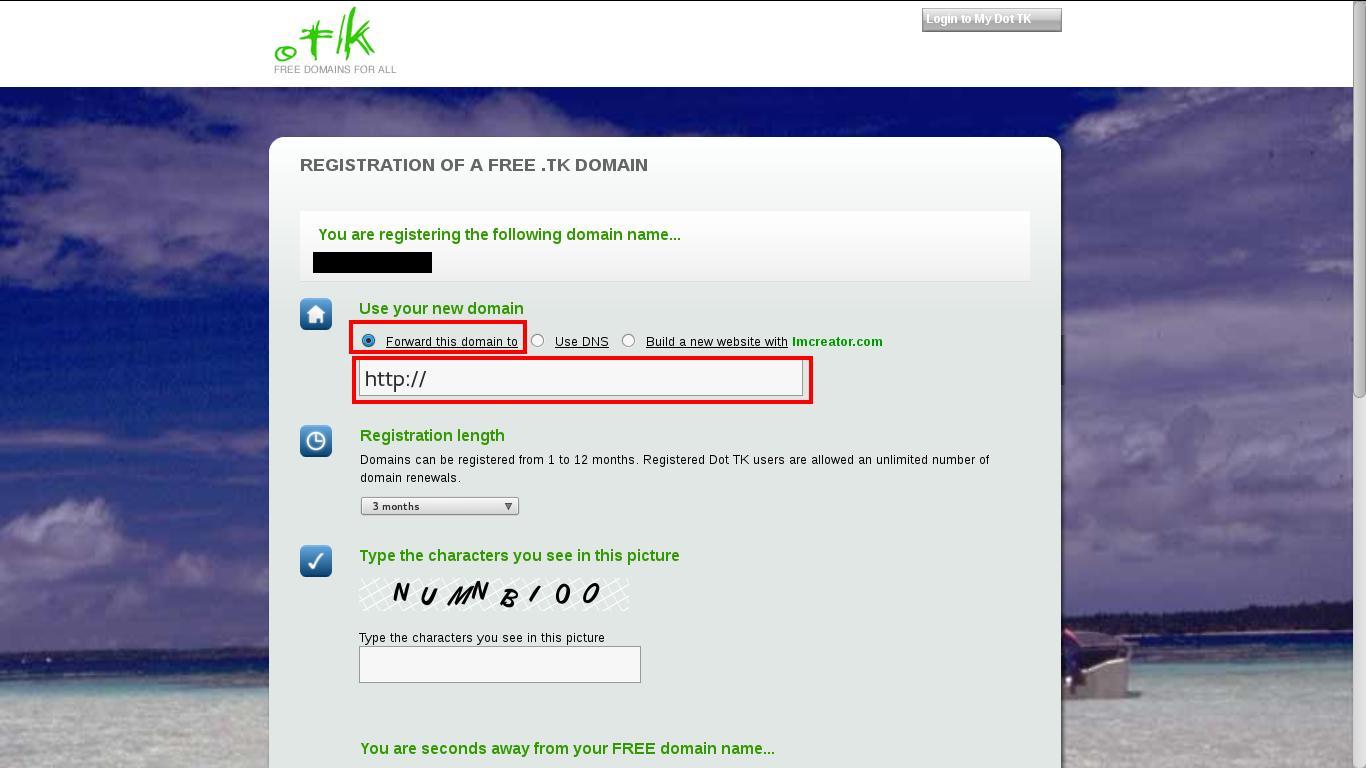 This means that your registered domain will temporarily point to Google search engine site.
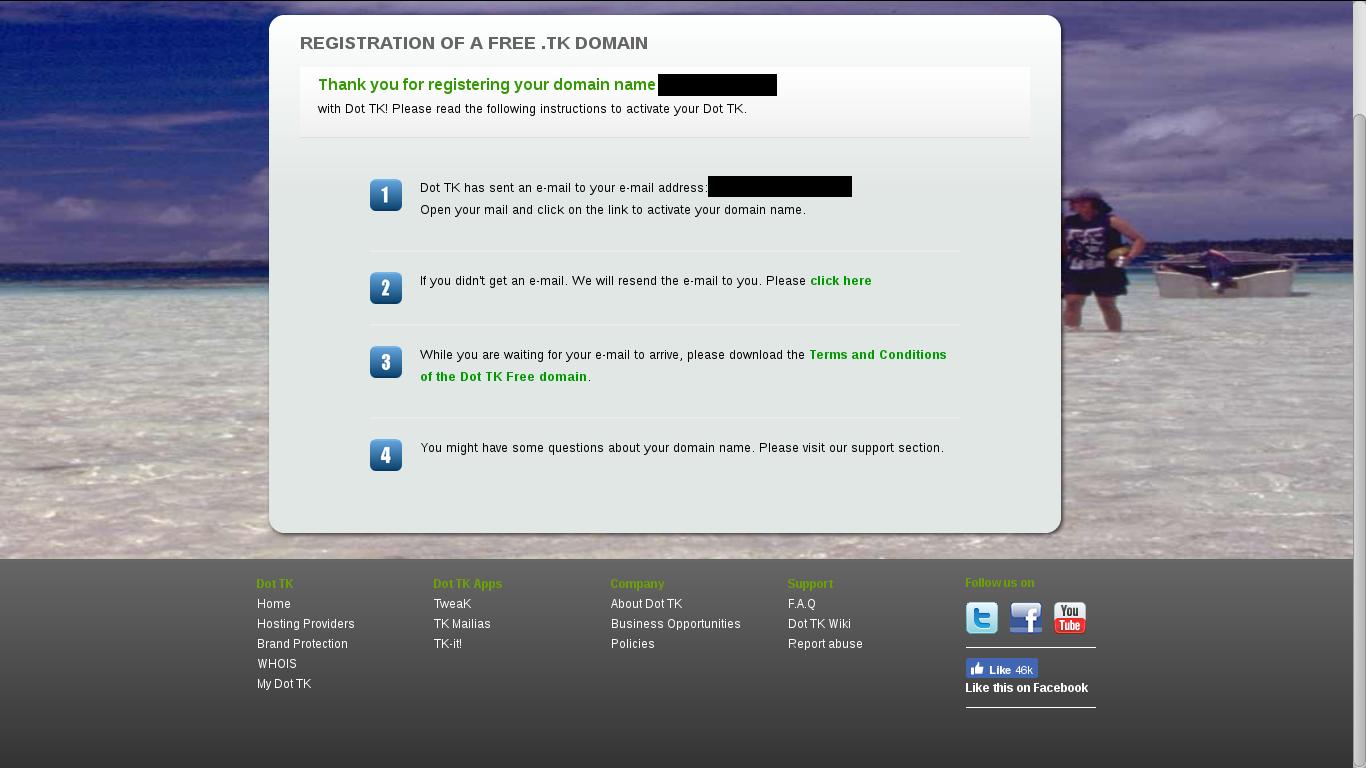
Now select “Registration length” and enter the code and hit “Sign up”. Use Facebook or Windows Live or email to sign up and complete the registration process. After successful registration you’ll receive an email.
- Now open another tab in the browser and head to here. Its a free web hosting company. Scroll down the page and hit “Get free hosting”
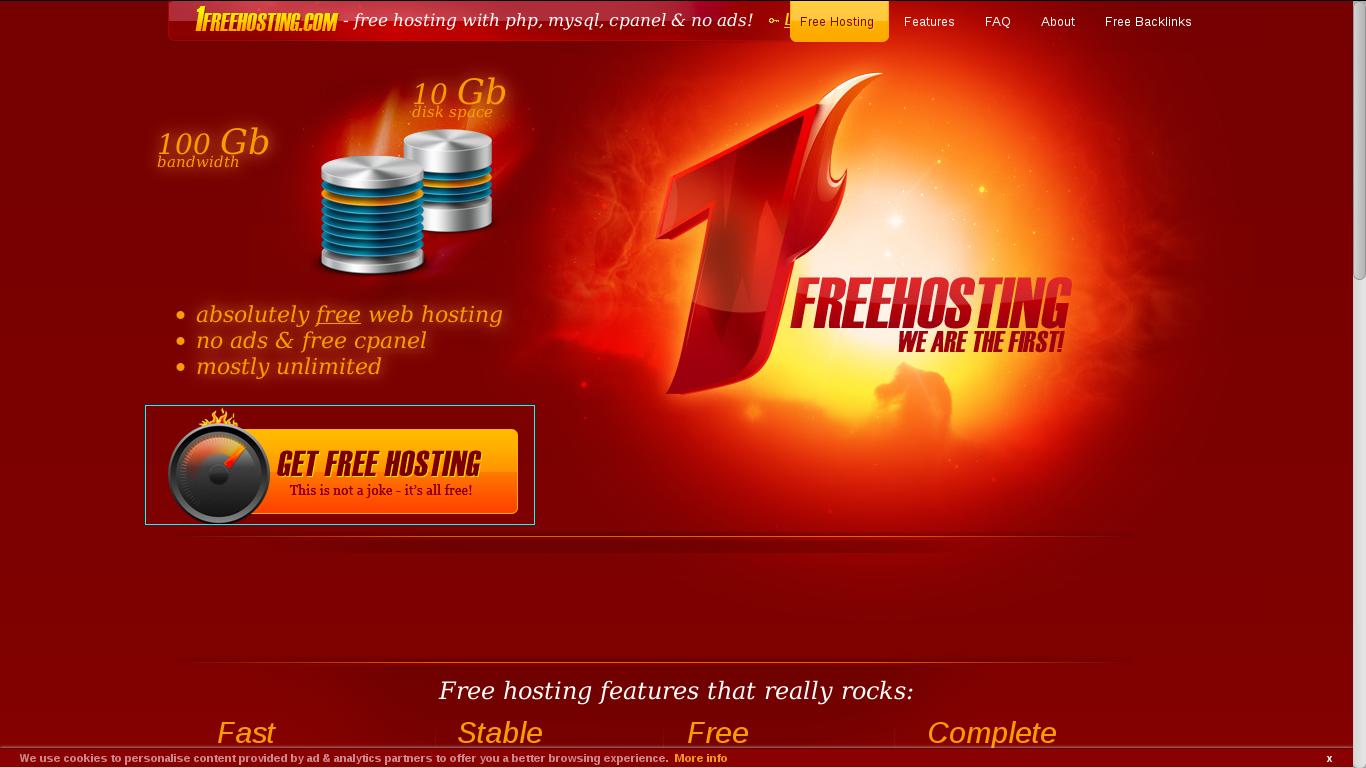 Now fill up all the details and hit “Sign up”. After successful registration you’ll be provided with the following screen.
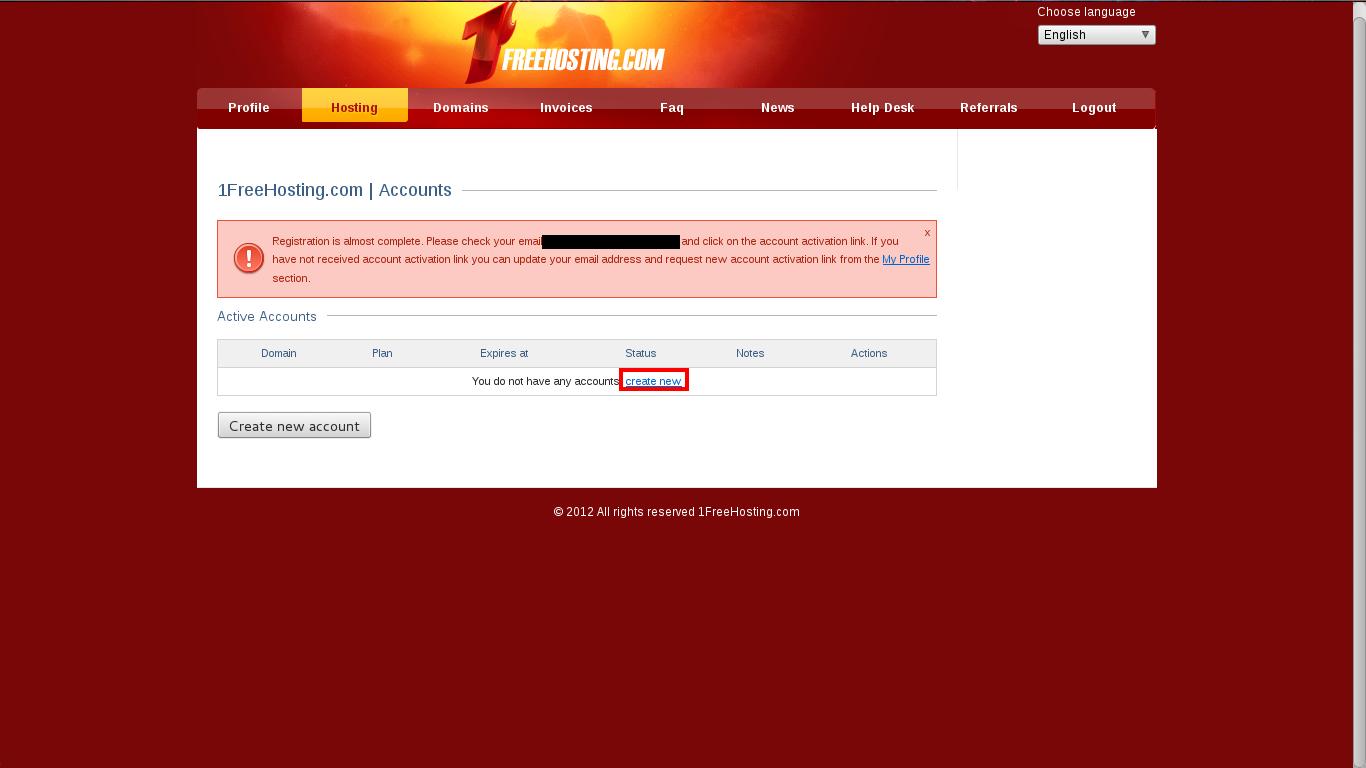
- Just head up to your email and you’ll see two emails from 1freehosting. Click on “client sig-up confirmation” email and click on the link provided in the email to activate the account.
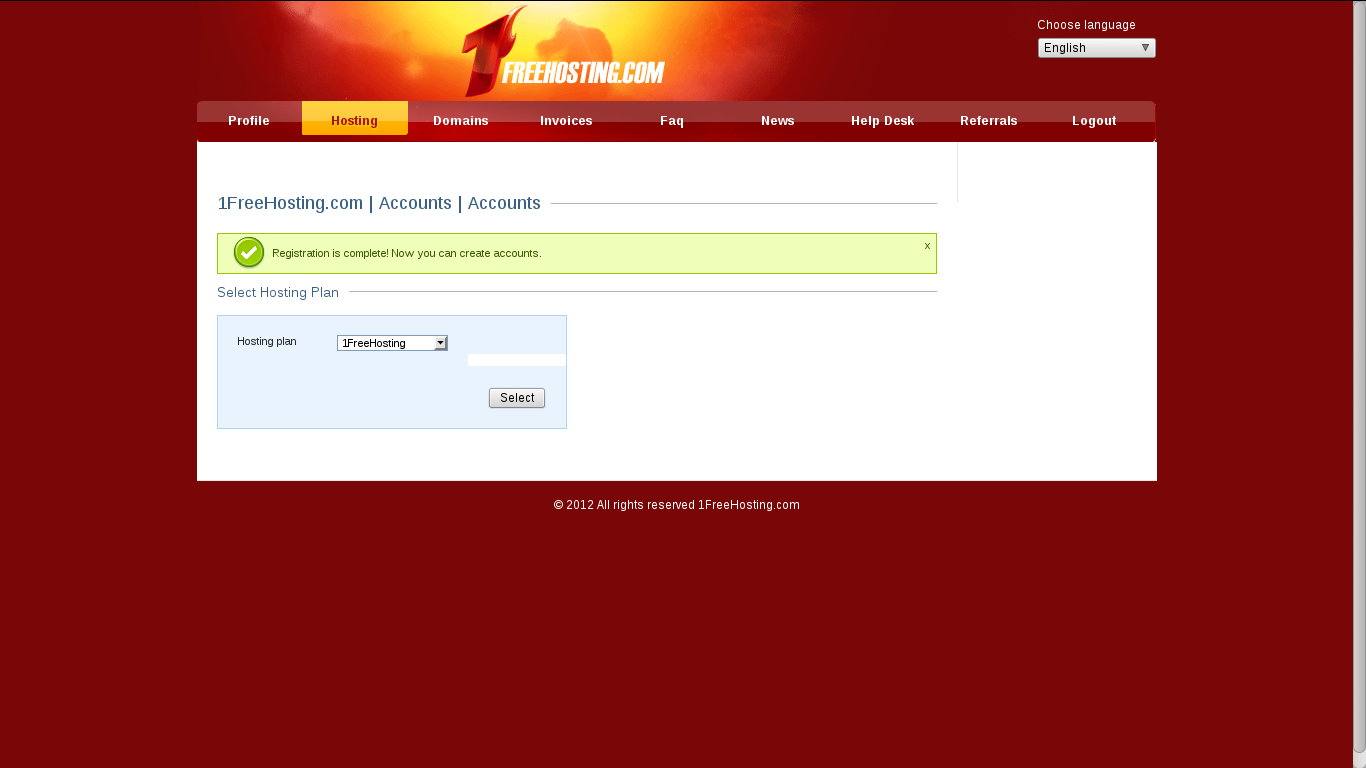
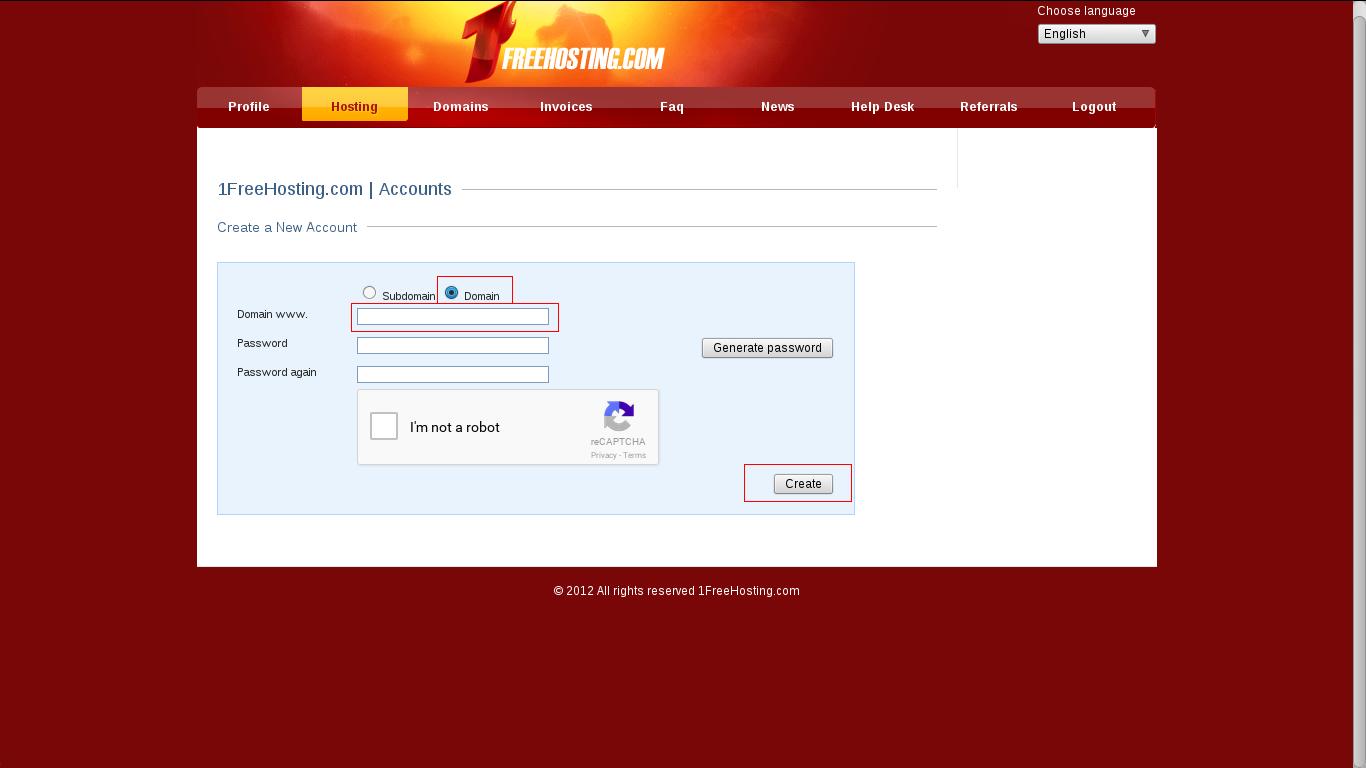
- Now click on “select”, in the next screen select option “Domain” and in the next text box enter the domain name you previously registered. Then enter the password complete the form and hit “create”
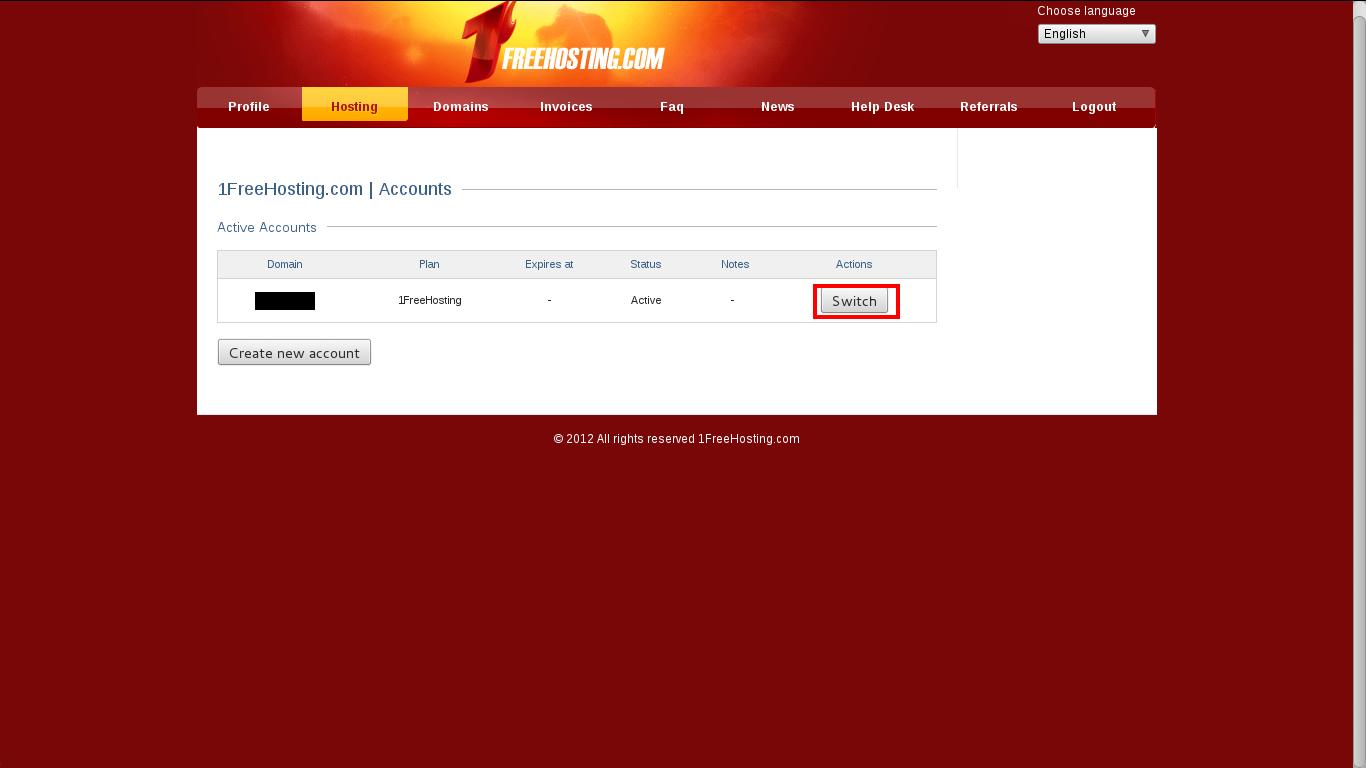
- After creating the account, which take some time (if webpage is not refreshed automatically, refresh it manually), you will see a switch button along side your domain name. Hit it.
-
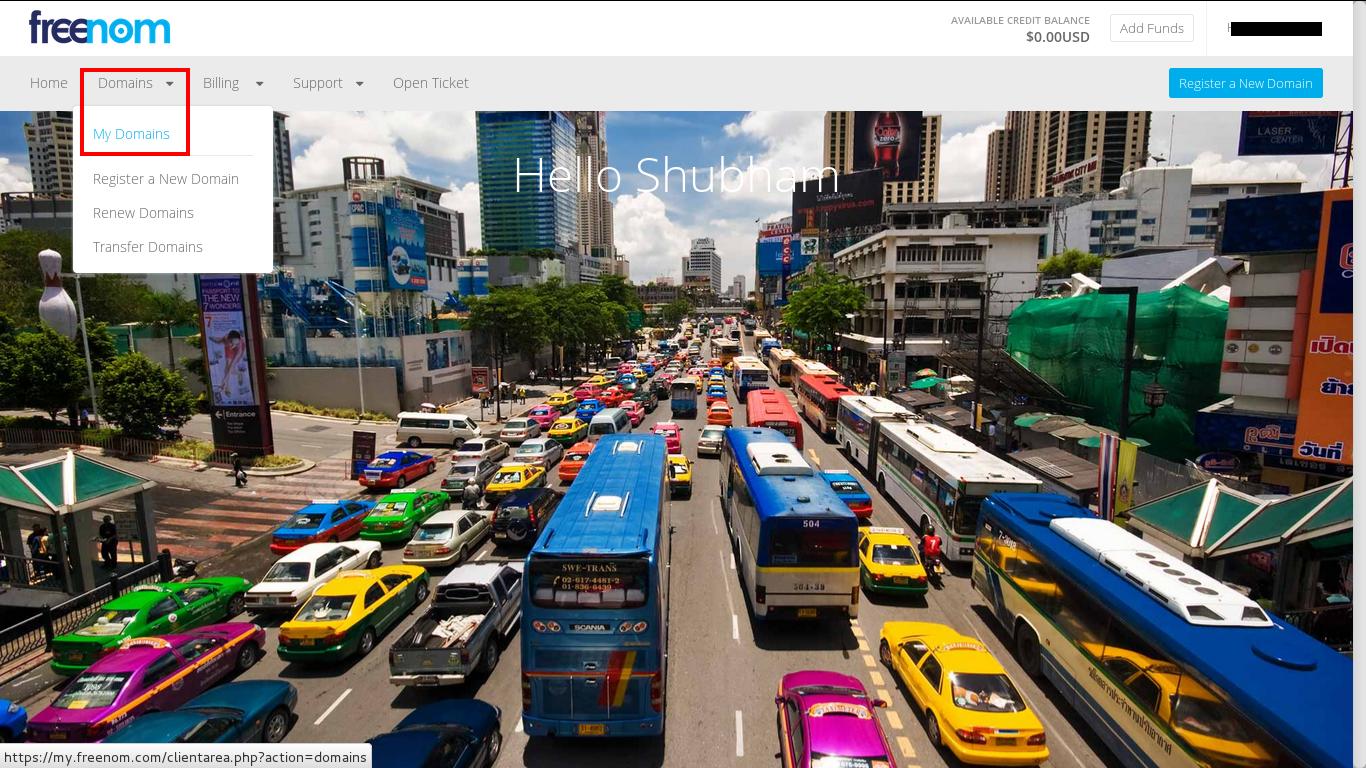
Now click on “details”. Leave this tab as it is and head to www.dot.tk site where you have registered the domain. Log in to the site using “login to my dot tk” option at upper right corner. Once you are logged in you’ll be redirected to the freenom website. Once at freenom site click on “Domains” and select “my domain” option from the drop down menu.
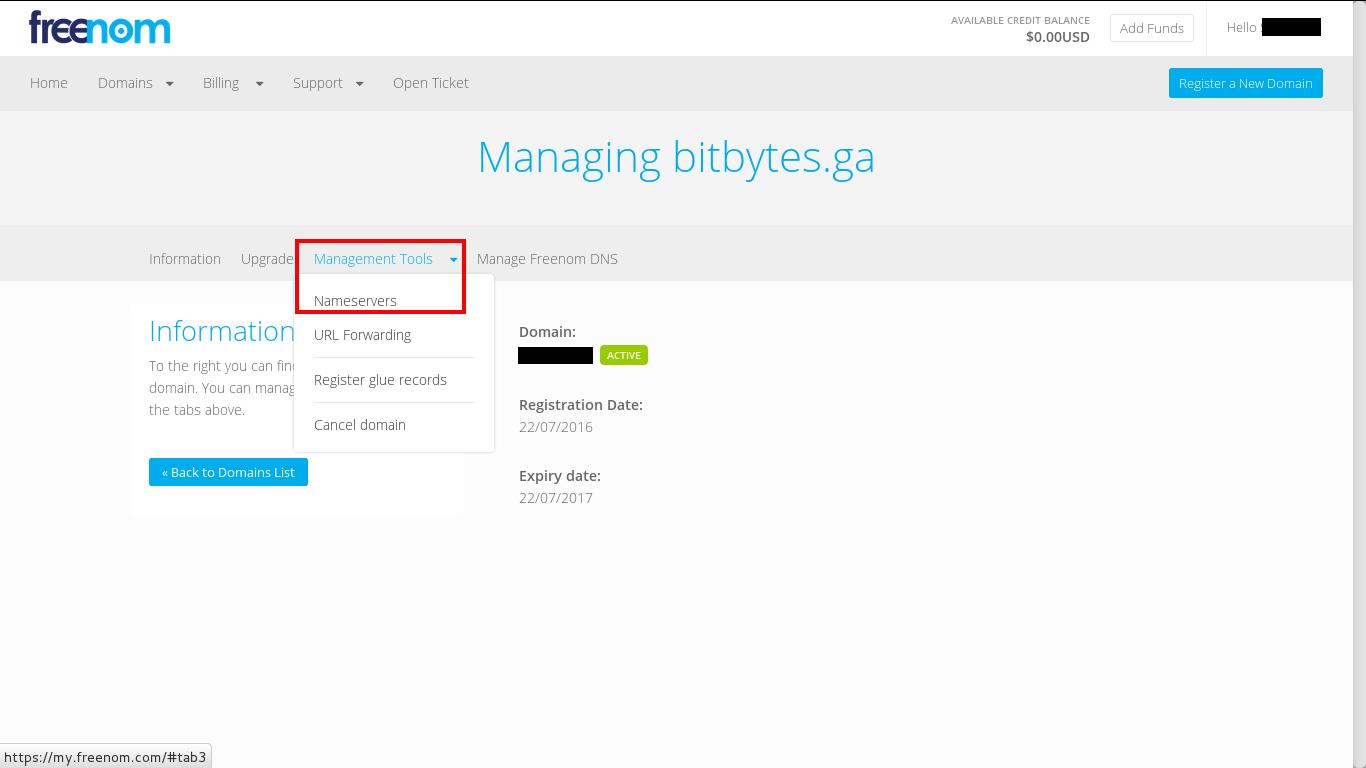
 Now Click on “Manage domain” option. In the next select “nameservers” from “Management tools” drop down menu and select “use custom nameservers” option.
- Go back to the 1freehosting tab and copy DNS server names which are like “ns1.1freehosting.com” and paste them in the individual text box in freenom site. After copying all the nameservers hit “Change nameservers”. Now you can open a new tab and enter your domain name and hit enter. You will see the default page displayed. If its not showing, wait for at-least 12 hours before your domain points to the hosting service.
That’s it both domain and hosting service are linked. Now you can create a website and upload it to the hosting server using its control panel. The cpanel provided in the 1freehosting lot more easier.